You've just bought a new electric vehicle or you're planning to buy one soon, and you're asking yourself: how do I install a charger at my home? And how much will it cost me? This is a very natural question, because installing a home charger is the most important step after purchasing an EV, since it transforms the charging experience from a daily burden into something that happens automatically while you sleep.
In this practical guide, we walk you through every step of installing an EV charger at your home in Saudi Arabia, starting from assessing your electrical panel all the way to powering on the charger and connecting it to the mobile app. We also provide you with a detailed cost table that helps you accurately estimate the required budget.
Step One: Assessing Your Home's Electrical Panel Capacity
Before thinking about the type of charger or where to install it, you need to know whether your current electrical panel can handle the additional charger load. This step is crucial because exceeding the panel's capacity causes frequent power outages or even fire hazards.
What do you need to know?
- Electrical service size: Check your electricity bill or contact the electricity company to learn the size of your service. Residential services in Saudi Arabia typically range between 40 and 200 amps.
- Current load: How much electricity does your home currently consume? Air conditioners are the largest consumers in Saudi homes, especially in the summer months.
- Available capacity: The difference between your service size and the actual peak load is what determines whether you can add a charger without upgrading your service.
A 7 kW charger draws about 32 amps on a single phase, and an 11 kW charger draws about 16 amps on three phases. If your service is 60 amps or more, you can usually install a 7 kW charger without any problem. However, it's always preferable to have this assessed by a specialized technician.
Important tip: If your electrical service is small and can't accommodate the charger, the solution is to upgrade the service through the SEC app. The upgrade cost depends on the required size and typically ranges between 1,000 and 5,000 SAR. Some smart chargers support a "dynamic load balancing" feature that automatically adjusts charging speed based on household consumption, which may eliminate the need to upgrade your service.
Step Two: Choosing the Right Charger (7 kW or 11 kW?)
The most common choice for homes in Saudi Arabia is between two chargers: a 7 kW charger (single phase) and an 11 kW charger (three phases). How do you choose between them?
7 kW Charger (Single Phase - 32 Amps)
- Charges a 60 kWh battery from 20% to 100% in approximately 7 hours
- Ideal if you charge your car overnight (you plug it in at 10 PM and wake up with a full battery)
- Easier to install because it only needs a single phase
- Cheaper to purchase and install
- Sufficient for most users who drive less than 150 km per day
11 kW Charger (Three Phases - 16 Amps per Phase)
- Charges the same battery in approximately 4 hours and 30 minutes
- Suitable if you need faster charging or drive long distances daily
- Requires three phases to be available in your electrical panel
- Slightly more expensive to purchase and install
- Your vehicle must support 11 kW charging to take full advantage of it
Our recommendation for most users in Saudi Arabia: start with a 7 kW charger. If you charge your car overnight, it's more than sufficient and you'll save on purchase and installation costs. You can always upgrade later if your needs change.
Step Three: Requesting a Site Survey from a Specialist
After forming an initial idea about the right charger, the next step is to request a site survey from a specialized installation company. Don't rely on your own personal estimates or the advice of a general electrician, because installing EV chargers is a precise specialty.
During the site survey, the specialized technician will:
- Inspect the main electrical distribution board and determine the available capacity
- Measure the distance between the panel and the proposed charger location to determine cable length
- Assess the cable routing (indoor or outdoor, through walls or floors)
- Verify the type of grounding and its compliance with standards
- Determine whether an upgrade to the service or the panel is needed
- Provide an accurate quote based on the actual site survey
Climatech Charger offers free site survey services across all regions of the Kingdom. You can book a survey appointment by calling 966502590720 or through the quote request form on climch.com.
Step Four: Electrical Work and Preparations
After accepting the quote, the electrical preparation phase begins, which is the most critical part of the entire installation process. This phase includes:
Installing a Dedicated Circuit Breaker
A dedicated circuit breaker for the charger is installed in the main distribution board. This breaker protects the charger circuit from any overload or short circuit. For a 7 kW charger, a 40 amp breaker is typically used, and for an 11 kW charger, a three-phase 20 amp breaker is used.
Running the Electrical Cable
A copper cable with the appropriate cross-section is run from the panel to the charger location. The cable cross-section depends on the charger's power rating and the distance. The greater the distance, the larger the required cable cross-section to avoid voltage drop. The cable is typically run through plastic or metal protective conduit.
Installing a Residual Current Device (RCD)
A residual current device is an absolute necessity for user safety. In the event of any electrical leakage, this device cuts the current immediately within fractions of a second before anyone is exposed to an electric shock. The recommended standard for EV chargers is a Type A or Type B RCD with a sensitivity of 30 milliamps.
Grounding
You must ensure proper and effective grounding is in place. Grounding protects against lightning strikes and stray currents, and it is a mandatory requirement in the Saudi electrical code. If the existing grounding is not sufficient, a new grounding rod is added.
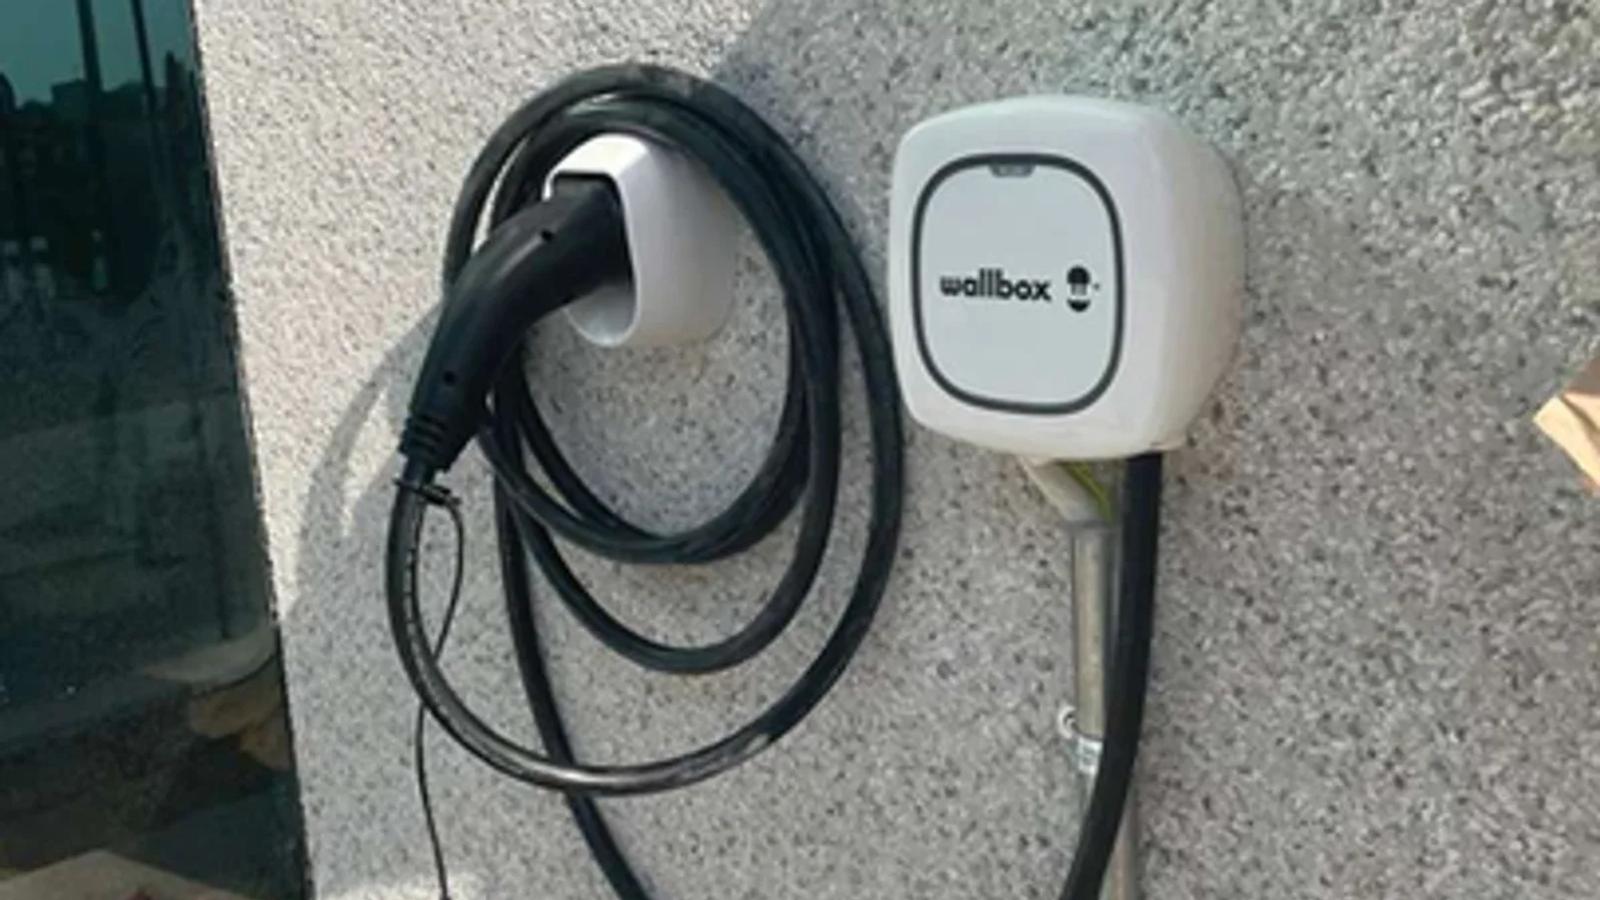
Step Five: Installing and Testing the Charger
Once the electrical preparations are complete, it's time to install the charger itself:
- Mounting the charger bracket on the wall: It is mounted with special anchors suitable for the wall type (concrete, block, or gypsum). The ideal height for the charger off the ground is between 100 and 130 centimeters for easy access.
- Connecting the cables: The cable coming from the panel is connected to the charger's internal terminals according to the manufacturer's instructions.
- Insulation and connection testing: The insulation of the cables and connections is measured to make sure there are no leaks.
- Trial run: The charger is connected to the vehicle and an actual charging test is carried out to make sure everything is working correctly: starting and stopping charging, reading the meter, and communication between the charger and the vehicle.
- Testing protection systems: The circuit breaker and RCD are tested to verify their correct response.
Step Six: Connecting to WiFi and Setting Up the App
Most modern home chargers support WiFi connectivity and are managed via a mobile app. After the physical installation, the technician will:
- Connect the charger to the home WiFi network
- Create your account in the charger's app and pair it with the device
- Configure your preferred charging settings: schedule charging during off-peak tariff hours (if available), set the maximum charging limit (e.g., 80% to preserve the battery), and enable notifications.
- Walk through the app interface and how to monitor consumption and costs
The scheduling feature is very useful because it lets you plug in your car as soon as you get home, while charging doesn't actually start until the time you set (e.g., 12 midnight when grid load drops).
Detailed Cost Breakdown for Installing a Home Charger in Saudi Arabia
Below are cost estimates for 2026 based on actual market prices. Note that costs vary depending on the type of charger, the distance between the panel and the installation location, and the condition of the existing wiring:
The most common scenario: installing a 7 kW charger in a villa with the panel close to the garage costs between 4,000 and 7,000 SAR, including everything. This is an investment that saves you hundreds of SAR per month compared to charging at public stations or using gasoline.
Special Considerations: Villa vs. Apartment
Installing a Charger in a Villa
Villas are the easiest scenario for installing a home charger. You own your own electrical panel, the garage is attached directly to the home, and you don't need anyone's approval. The only potential challenge is the distance between the panel and the garage in large villas, which may slightly increase cable costs.
Installing a Charger in an Apartment (Residential Building)
Installing a charger in an apartment is more complicated for several reasons:
- Building management or homeowners' association approval: Written approval must be obtained before starting any installation work.
- Long distance: The electrical panel may be on a different floor from the parking spot, meaning longer cable runs and higher costs.
- Electrical meter: The charger must be connected to your apartment's own meter so that your consumption isn't billed to the building's shared account.
- Tamper protection: If the charger is in a shared parking area, you may need a lock or an RFID card to prevent unauthorized use.
- Existing infrastructure: Some older buildings may have electrical panels that can't handle additional loads.
Tip for apartment residents: If you're planning to buy a new apartment, look for projects that include ready-made infrastructure for EV charging. Many modern residential projects in Saudi Arabia have started to include this feature in preparation for the future.
Common Mistakes to Avoid When Installing a Home Charger
- Using a regular outlet instead of a dedicated charger: Some users think that plugging the car into a regular household outlet (13 amps) is enough. This is dangerous because a regular outlet is not designed to handle continuous draw for many hours, which can cause overheating and fire hazards. Always use a dedicated charger (EVSE) with a comprehensive protection system.
- Hiring a non-specialized electrician: A general electrician may be good at running wires but might not know the requirements of EV chargers in terms of protection standards, breaker type, and special grounding requirements.
- Ignoring grounding: Proper grounding is not optional; it is a safety necessity. Without it, the charger won't even work in many cases because the protection system detects the absence of grounding and refuses to start charging.
- Choosing a cable with insufficient cross-section: A thin cable causes voltage drop and overheating. The technician must accurately calculate the cable cross-section based on the current and distance.
- Installing the charger in a location exposed to direct sunlight: In Saudi Arabia's hot climate, exposing the charger to direct sunlight all day reduces its lifespan and affects its performance. Choose a shaded location or under the garage roof.
- Not installing residual current protection: An RCD is an absolute necessity even if the charger has built-in protection. Multiple layers of protection ensure the highest level of safety.
How Long Does Home Charger Installation Take From Start to Finish?
The typical timeline for a home charger installation project with a professional company like Climatech Charger:
- Days 1-2: Initial contact and needs assessment
- Days 3-5: Site survey and quote submission
- Days 6-8: Quote approval and charger order
- Days 9-14: Sourcing the charger and materials (depending on stock availability)
- Days 15-16: Installation, testing, and handover
In the ideal scenario (the charger is in stock and the wiring is straightforward), the entire project can be completed within a single week. The actual on-site installation work usually takes only 3 to 6 hours.
Maintenance Tips After Installation
The home charger needs simple routine maintenance to keep it performing and safe:
- Regular cleaning: Wipe the charger clean of dust and dirt with a dry cloth at least once a month. The heavy dust in Saudi Arabia's climate can block ventilation openings.
- Cable and connector inspection: Visually check the charging cable for any cracks or sharp bends. Clean the connector terminals of any dirt.
- Testing the circuit breaker and RCD: Press the test button on the residual current device once every three months to verify it is working correctly.
- Firmware updates: If your charger is smart and internet-connected, make sure automatic updates are enabled for its system.
- Annual inspection: It is recommended to have a professional annual inspection that includes measuring insulation, checking connections, and ensuring the safety of the protection system.
With proper care, a good home charger lasts between 10 and 15 years without needing to be replaced, making it a long-term investment that saves you significant amounts compared to traditional fuel costs or charging at public stations.
Looking to install an EV charger at your home?
Climatech Charger provides home charger installation services across all regions of the Kingdom, with a free site survey and a comprehensive warranty on both the charger and the installation.